Showing posts with label attachment. Show all posts

Wednesday, August 17, 2022

Accomplishment vs Experience

There are times when you ask yourself if what you're doing is reasonable or not. If it makes sense. Shortly after, the short but relevant question comes to mind. Why?
 
I ignored those philosophic questions for years since there's no meaning of life, no purpose. The only thing that is relevant is to keep your conscience satisfied. But how to do that? How to reach satisfaction? Accomplishment? New experiences? Pleasure?

Hot to handle disappointments? When things go south. Anger? Bitterness? 
Life was good. The 449 Amazon had just passed Safety Inspection at Bonneville Speed Week 2022. We went back to the hotel room and wrote a blog post. The last sentence was; Will there be rain tomorrow? Let's hope for dry weather. Reason for that prayer? Look at the picture above...
Then Saturday arrived. We all drove to Bonneville Salt Flats early in the morning. Only to talk to a SCTA guy who told all racer that the gigantic Bonneville Salt Flats was flooded and closed for all. I got a very bad feeling about the event, but perhaps there could be race on Sunday instead? So, the Salt Slush Racing Team and the A Bombers Speed division team (camtwister, Nisse and racketeerbop,Trazan) strolled around in Wendover for a couple of hours, talking about when the race could start.
Then, after lunch Saturday August 6th, Carina, I and Magnus drove out to the race track to shape our own oppinion on when and if the race could begin. When I took this picture I understood that there was no hope. So sad.
Sometime around lunch time on Sunday August 7th, SCTA announced that Bonneville Speed Week 2022 was cancelled. At this point in time SCTA allowed and requested all racers to drive out in the "Bonneville lake" and pick up thier vehicles and equipment. So, we did. I will never ever forget those mixed feelings that we all felt when the front wheels of our 454 Suburban sank down in the 10-inch (25cm) salt water. We understood that we had to travel at least 10 miles (16km) out in this lake. Would we get stuck in the salt with our 2WD Suburban? Would the salty sea kill our engine and turn our Suburban in to a monument? 
 More importantly, would shorts be needed?
What happened? The Suburban worked perfectly. We wore shorts in public. 
We managed to get our Amazon into Wendover harbor.
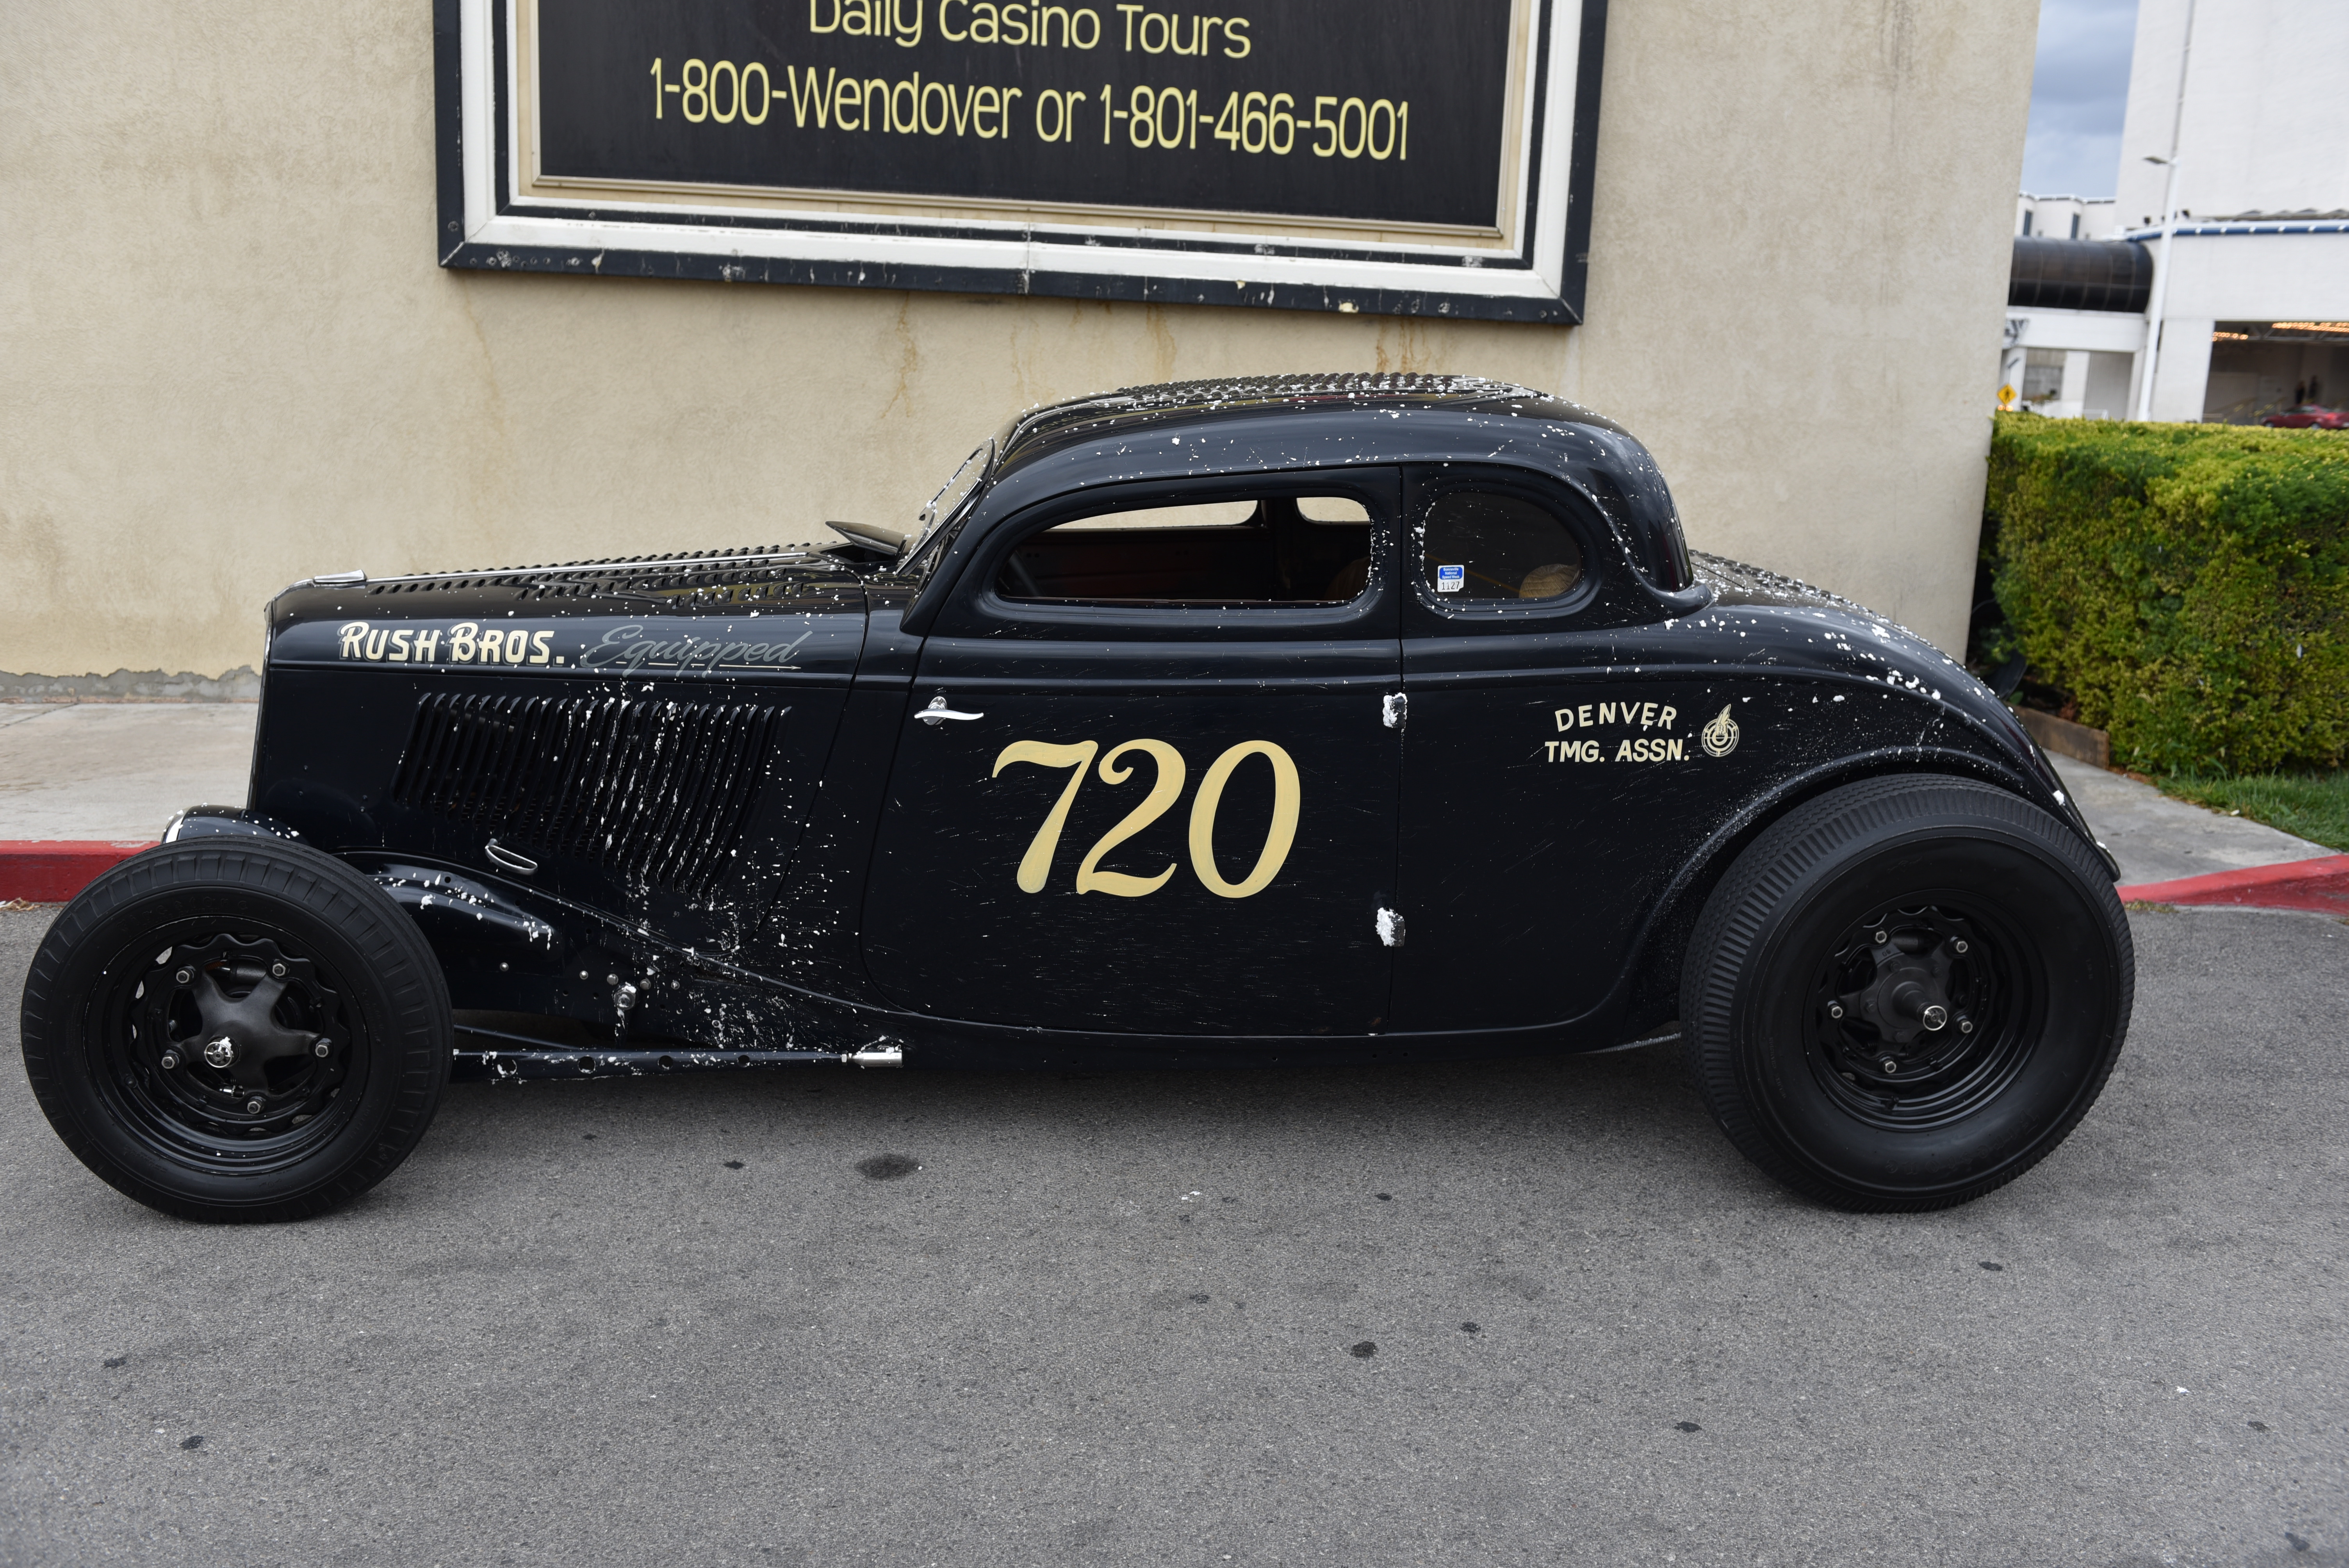
We washed our equipment twice and went out to the car show in Wendover...which was full of restless racers and loads of cool cars such as this one and...
...others chop top 32-34 coupes from Rolling Bones.
 In my opinion, this Mercury Cyclone was the coolest ride in Wendover. A perfect street car with rollcage, Bonneville Speed Week approved and Bonneville participant.
With our equipment on solid ground we had a drink or two with Gerry Clark (right) and his team outside The Nugget hotel in Wendover. What did we learn?  Jim Minneker (in the middle) explained how it feels to flip over at +230mph and survive.  We had a good time with these (former) GM guys.
Eventually, we drove back to L.A. As we tooled our way back, we though that it would be a good idea to test drive our Amazon at El Mirage, California. We had our equipment. We passed El Mirage on our way back. What could possibly go wrong? Closed lake bed, that was what could go wrong.
Eventually we came back to Erik and Ruth, where we washed and polished the Amazon and the Suburban. Over and over again.
Rick-The-Carfixer and Erik did that too. Within a couple of days in the sun and a lot of cleaning, all race equipment was cleaned.
What follows is vacation. First, we went to Old Ford Store in San Dimas (and to CW Moss in Orange) to buy a steering box and more to our future Ford-Ardun based roadster project.
Early, the morning after, we went to Dognut Derelicts and the classic early bird car meet.. Guess who we meet there? 

We scrolled the SoCal Car Culture Event calendar and found a car show in Long Beach the same day. We wen there an found cars with a certain kind of spark and light such as this Chevy -49. And yes, there's something with the light in California...
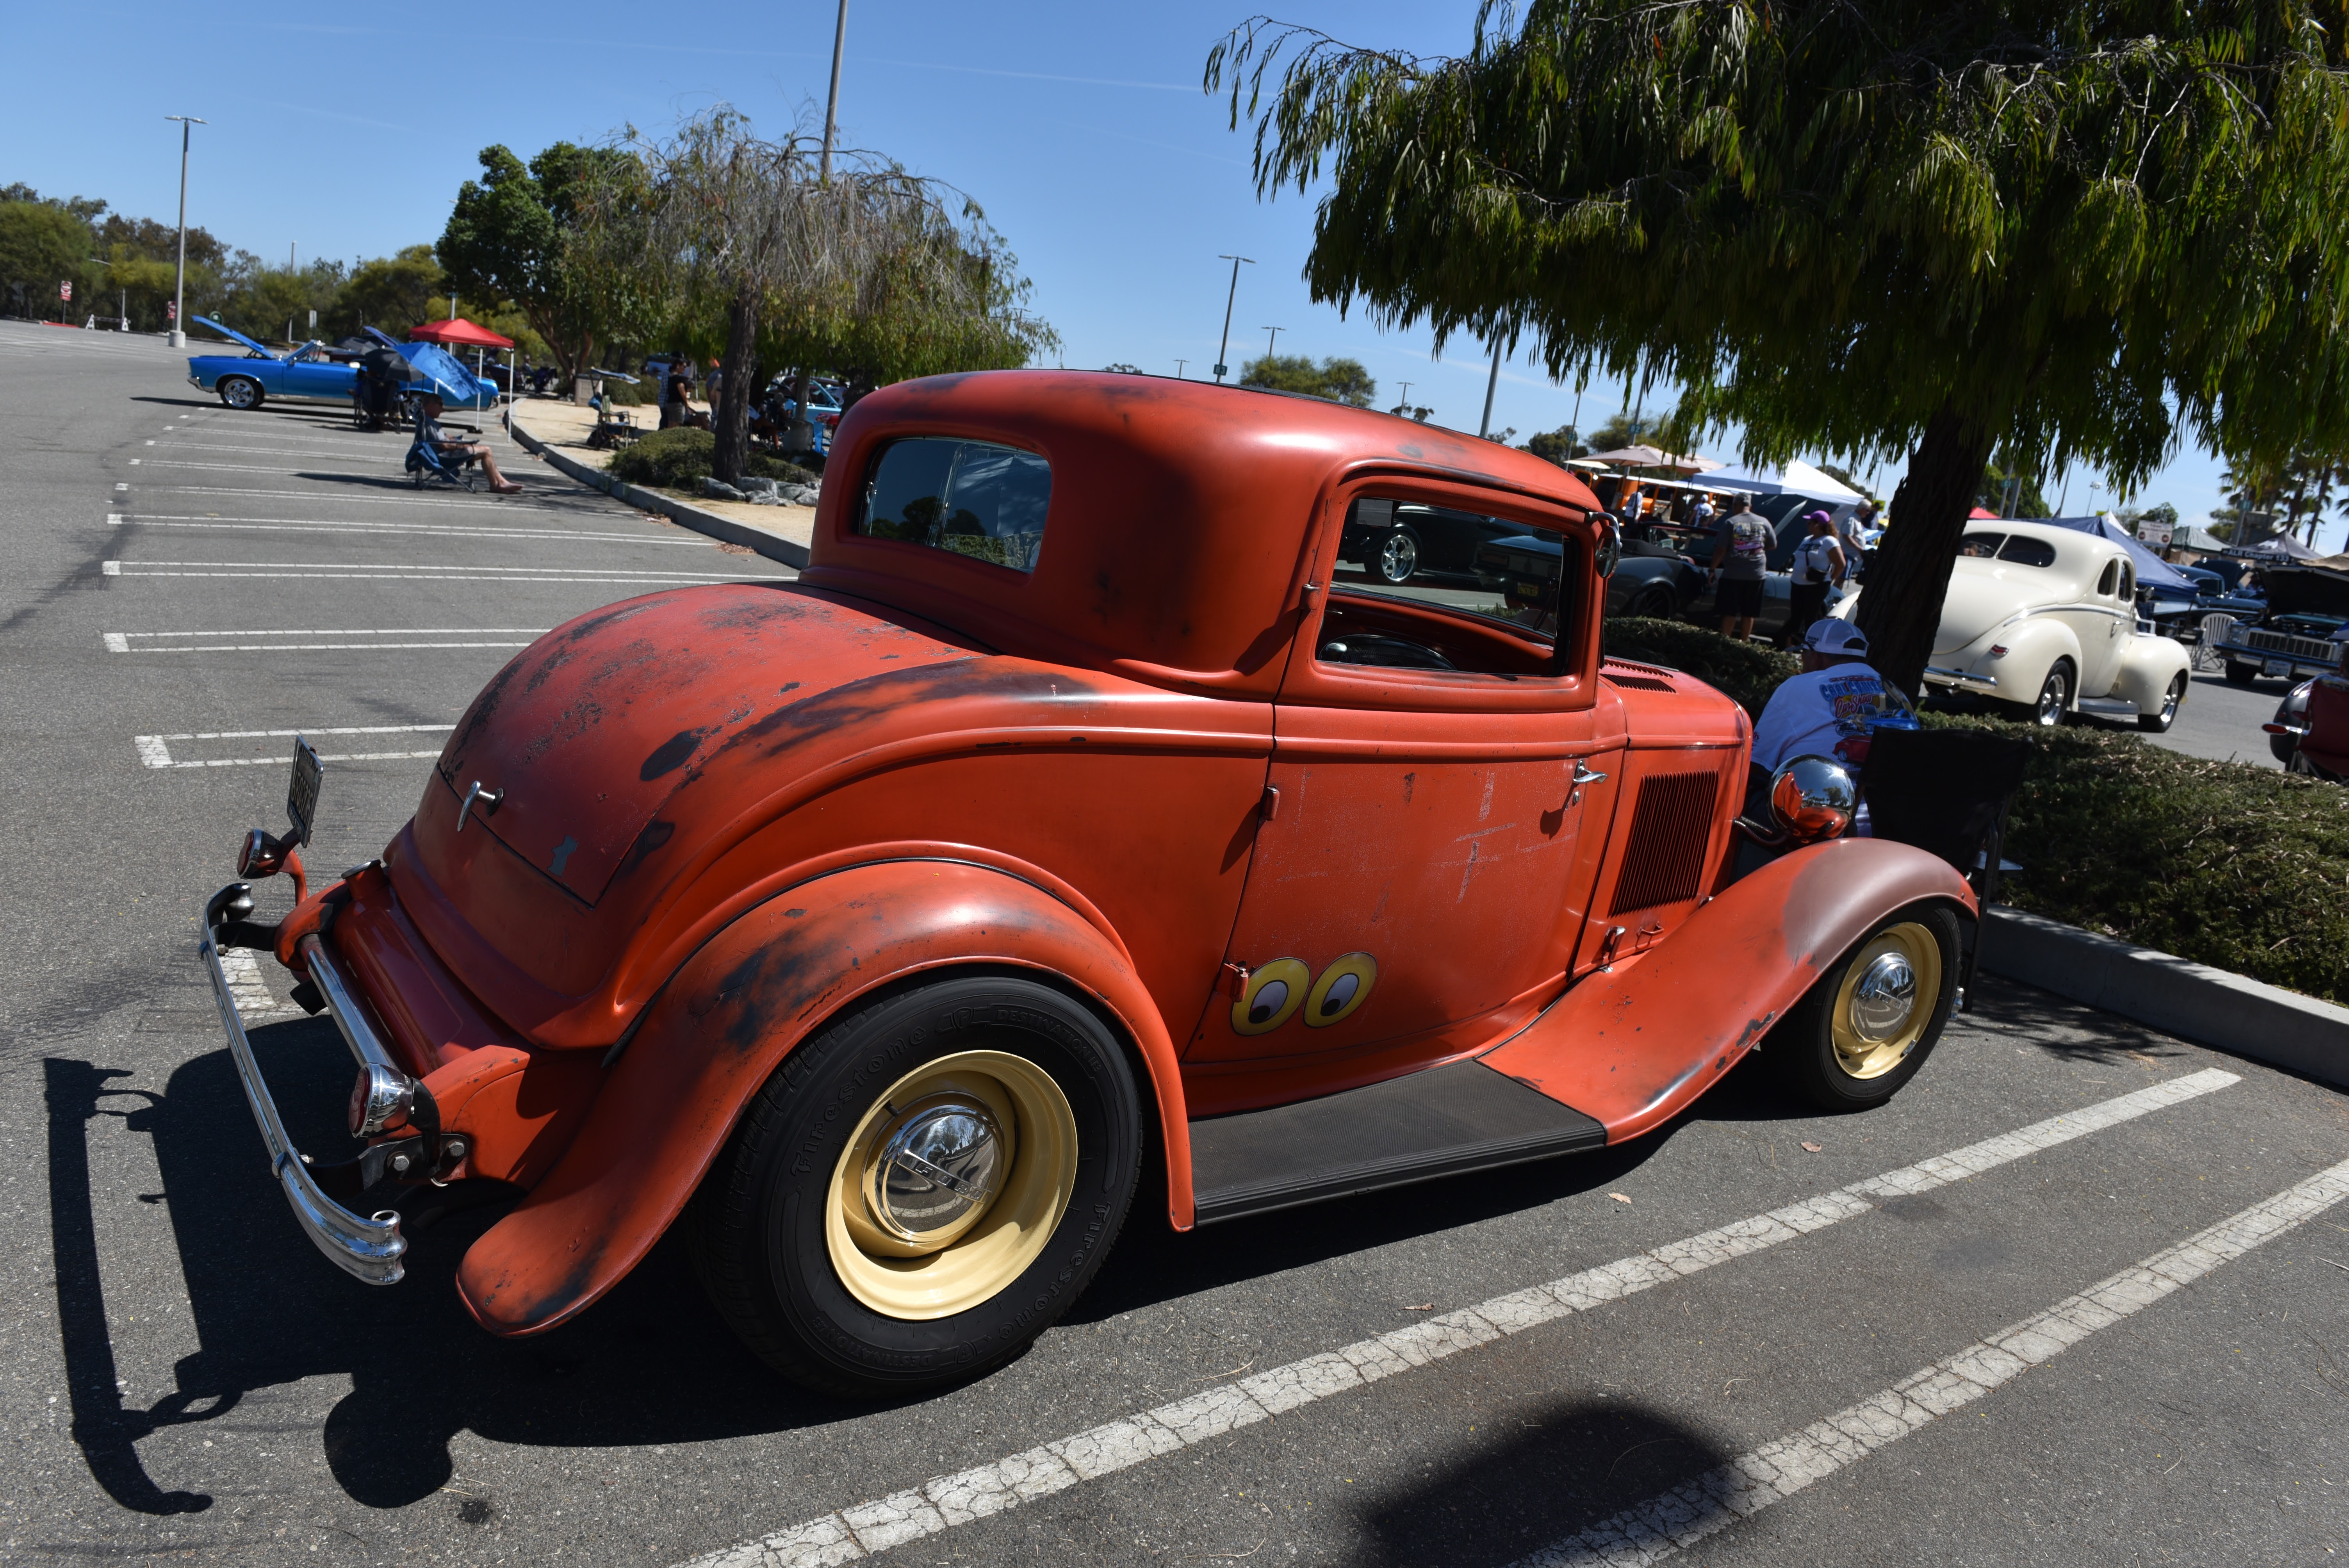
In addition, there was this original 3W -32 Ford Deuce Coupe. Built and painted back in 1954.
The most interesting car and person? The owner of militaryvehicles.com and his Humvee. This specific Humvee is a actually an early prototype. One of very few that was not scrapped. Magnus, who like the Humvee's had many questions regarding import and export. The militaryvehicle.com business? The company rent out military vehicles to the film industry.

What's next? We learned that we were close to an aircraft museum. With Tom Cruise P51 and several other cool fighters. But most importantly, they have one of only six flying P38 on display. I mean, P38 is an amazing aircraft. Not only did it serve its purpose in the second world war, it was as well an important inspiration for the automotive industry for decades. It paves the way for the tail fin era. 

We learned all we needed to know about Skidoo. Not only the 23 type. 
Wanna know how to Skidoo?
Has he caught a fish in Alaska? Does he need his reading glasses? Or has he just found a very unusual Chevy small block manifold at Hi Performance swap Meet in Long Beach?

Summary: Its been one hell of a journey. A lot of work, many miles but no speed accomplishment. But we're loaded with new experiences, we've worked hard and met a lot of interesting people. We had good discussion with Magnuson Superchargers and SuperchargerOnLine.
 
Now it's time to start to think about next step. Texas Mile? El Mirage Race? Bonneville Speed Week 2023.

Saturday, August 20, 2016

Digital help to precision and the art of being lazy

And now to something completely different.

Well it is still a mix of make shift fabrication and workshop philosophy, but applied to something else. Beware this will take some time to get thru. I'll show you how I took my fabrication possibilities into the space age. Space age was the 60's wasn't it?

I have an old Bridgeport milling machine. Well worn (clapped out is probably the correct thing to say here) but a very useful and flexible machine. But I have been wanting a digital readout DRO for years. So finally I got my thumb out of my ass and bought a kit. Yes I took a chance and bought it from China. Why? Well I did buy a kit from Asia for my old mill and that was absolutely trouble free. Also I wanted a DRO that could show all 4 axis in one unit. When I looked at the brand name DROs they were pretty expensive when it came to the 4-axis units. 

I got the kit and it was quite clear from the beginning that I did not want to use the supplied hardware. I needed to make custom brackets, just as I did on my old milling machine. I looked around on the web to see how others had done. I found some pics of how others had done it and I thought about it and this is my version. It’s not an how-to-DRO your Bridgeport but some pics of on how I did which could give you some ideas and inspiration.

My thinking was of course to mount as much as possible on machined surfaces which should be flat and parallel or square to each other. In the case there was no machined surface I wanted to make the mounting brackets adjustable enough to get the scales mounted straight.

For the quill there was a bracket supplied with the kit. I could never figure out how that was meant to be used and actually it was of a bad design. I had already made a bracket for a magnetic read head mounted on the the quill depth stop. I cut that down a bit and reused it. But it would be just as good to use the stock hole in the quill stop and glue in a piece of metal with a tapped hole for mounting. My bracket for the read head has a radius that matches the quill depth stop diameter and the mounting holes are elongated so it can be adjusted to be parallel with the scale mounting surface. On this bracket there is a second plate that holds the read head and gives some adjustment side to side and for tilting. I mounted the scale on the same surfaces that holds the stock scale since they where already machined. If you do this take out the mechanism for the feed stop when you drill and tap in the lower mounting pad. Also use screws that only go in about 3mm (1/8”) or it will pinch the bushing for the feed stop shaft. The lower mounting block is probably not needed but it will give me a good surface to mount a chip guard in the future.

I tried to get the scale to sit as high and close to the milling head as possible to avoid unnecessary obstruction and hitting it with my head and other parts I don't care some much about.

Unfortunately I will not be able to use the hand wheel for the quill feed without modification. But I don't have the wheel anyway.

The x-axis was straight forward. Just mount it in the back of the table and the read head on the saddle. Some shims and everything was aligned. 


The y-axis was a bit harder but luckily the side of my knee was flat enough to get the scale mounted straight with a few washers as spacers. The bracket for the read head was also something I had made before and could reuse with some modifications. That’s why it looks a bit odd. There was a machined surface on the side of the saddle, so mounting was easy. This bracket just clears my x-axis feed.

Read head mounted to a secondary bracket for adjustment. The mid section gives some height and tilt adjustments.

The most complicated axis was the Z. No machined surfaces and where the scale needed to be it was not even close to flat. I thought about it for bit and considered different solutions. One thing that could work would be some kind of arms mounted on ball joints that could be locked after alignment. But I opted for brackets made of several parts that can slide and swivel in the joints. This way I had a possibility to do small adjustments of the brackets in all directions and all angles. For this axis too I had already made a mount for a magnetic read head which I could modify and reuse. This has 3 mounting screws and 3 jacking screws for alignment. This design works, but if I had redone it I would make the bracket more like the Y-axis bracket since it was easier to align. After the read head was set straight with a test indicator it was easy to align the scale. With all the screw in the brackets a bit snug but not tight I could drive the knee up and down and it almost aligned itself. Some final adjusting using a test indicator and I was done.


Some final thoughts on how I would do it if I did it again. The basic idea for all axis was OK, but I made all parts the fly. Some dimensions proved to be a bit tight and some screws are hard to access. I might change the x-axis scale for a magnetic since it limits my travel by about 15mm. But overall I’m quite happy how it turned out and all parts was easy to make using scrap pieces of aluminium. Now I just need to screw down all cables and make chip guards for the scales.

The display was mounted with the arm in the kit. I will ad a plate that will hold the collets and tools I most often use. Lord Vader is watching.

The table is usually not this clean

As a bonus I can show the modification (hack might be the contemporary term) of my old used and abused Brown and Sharpe horizontal mill. I'm not really sure if it really is a Brown and Sharpe, but looking in the old catalogs dimensions and features indicates it could be a B&S Plain milling machine size 1 or 1-1/2. It does have a B&S no 10 or 11 taper also. But it might be a clone.

I have a shaper head from my old Vilh Pedersen milling machine. I took some scrap metal and made an alignment collar and a shaft so I could mount it. Works great. This is only step one in the bastardization of this old mill. Maybe there will be an update in the future. But this was a nice step in the right direction. I have been wanting the possibility to do internal splines for some time now.
Shaft with key

Lube it up

Looks almost factory... If you turn around and close your eyes.

OK until next time. Wrench and repeat.